Whether you're putting up a 30x40 shop or a 1,800 sq ft kit home, the slab is the foundation that everything else attaches to. Get it right and the rest of the project goes smoothly. Get it wrong — wrong dimensions, wrong anchor bolt placement, wrong PSI — and you'll spend the next year trying to make corrections that stay visible forever. Here's the standard sequence.
Phase 1: Site prep (1–3 days)
Strip the topsoil and organic material from the building footprint plus 5ft beyond on every side. Topsoil is unstable — slabs on uncompacted topsoil crack within a year. Strip down to native subsoil or virgin clay/sand. Save the topsoil; you'll want it for landscaping later.
Grade the pad to within 1" of level across the footprint. Compact in 6" lifts using a plate compactor or vibratory roller. Test compaction by walking on it — your boot shouldn't leave more than a 1/4" impression.
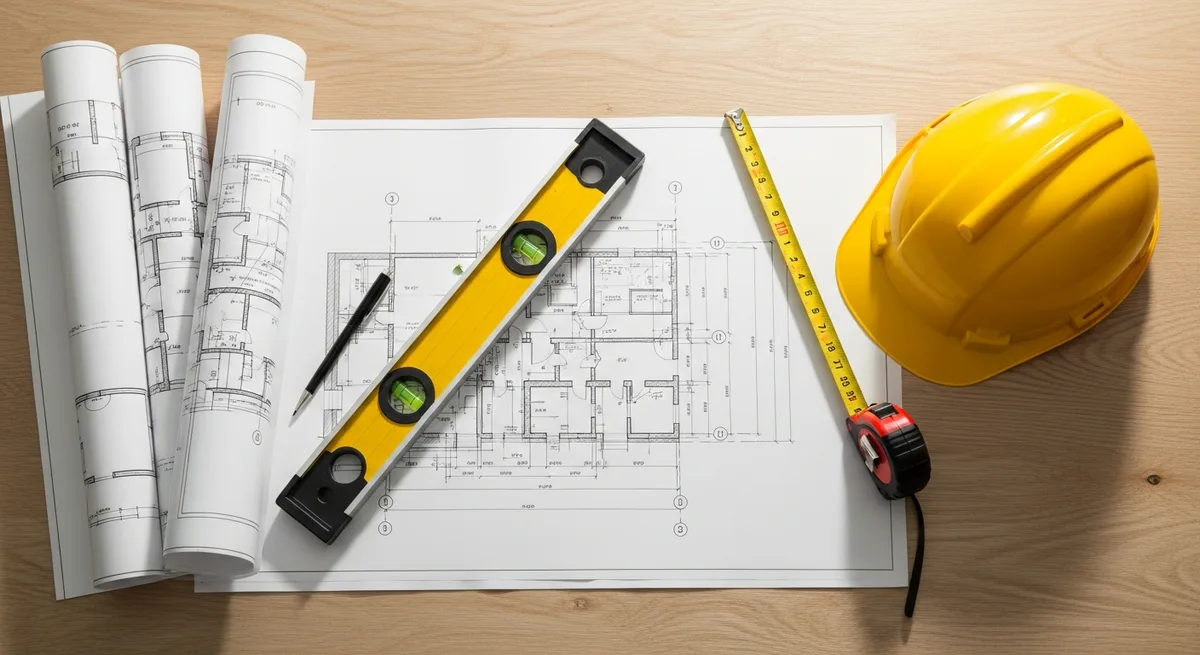
Phase 2: Verify dimensions and anchor bolt template
Critical step. Before you form a single board, get the anchor bolt template from your kit supplier. Verify the building's exact outside-to-outside dimensions, anchor bolt spacing, and projection above the slab. Most kits ship with a template diagram or PDF — pin it down on paper before forming.
Common mistake: pouring to a 'standard' template and discovering the actual kit needs anchor bolts in different positions. Re-drilling and epoxying replacement anchors costs hundreds of dollars per bolt and can void engineering warranties.
Phase 3: Forming (1 day)
Use 2x lumber (typically 2x6 or 2x8 for a 4–6" slab) staked every 4ft. Form to the exterior dimensions of the building. Verify squareness with diagonal measurements (corner-to-corner should match). String lines and a builder's level are essential here — eyeballing the form will give you a slab that's out of square enough to cause sheeting alignment problems on the building.
Slope considerations: If the slab needs a slight grade for drainage (carports, agricultural buildings), build the slope into the form. Floor slabs for residential and finished shops should be level.
Phase 4: Sub-base and vapor barrier (half day)
Spread 4–6" of compacted gravel base inside the forms. Crusher run or compacted #57 stone works. Compact in lifts. The gravel base provides drainage and a stable working surface for the rebar.
Lay 6 mil polyethylene vapor barrier across the gravel, lapping seams 12" and turning up at the forms. Vapor barrier is required for slabs that will have a finished floor over them, and recommended for any slab in a building with conditioned interior space.
Phase 5: Rebar and anchor bolt placement (half day to 1 day)
Standard reinforcement for a 4" slab: #4 rebar (1/2") on 16" centers in both directions, supported on chairs to position at the slab's mid-depth. For heavier loads (truck garage, equipment use), #5 rebar on 12" centers and a 6" slab is standard.
Place anchor bolts according to the kit template, with the threaded portion projecting above the planned slab top by the spec'd amount (typically 2.5–3.5"). Wire the bolts to the rebar so they don't shift during the pour. Verify each bolt position against the template before the truck arrives.
Phase 6: The pour (half day)
Schedule concrete delivery for early morning to avoid heat issues. Specify mix design — 3,500 PSI minimum for residential, 4,000 PSI for shop floors with vehicle traffic. Air-entrained concrete (4–6% air) is required in freeze-thaw climates. Most ready-mix suppliers will recommend the right mix if you tell them the use.
Pour from one corner working across the slab. Strike off with a screed bar, bull-float, then trowel finish (steel trowel for shops, broom finish for outdoor or non-slip surfaces). The pour itself goes fast — 30–60 minutes for a 30x40 slab — but finishing takes 2–4 hours of attention as the concrete sets.
Phase 7: Cure (7–28 days)
Concrete reaches 70% of design strength in 7 days, full strength at 28 days. Most kit erectors will start work after 7 days. Keep the slab moist for the first 3–7 days — cover with curing blankets or plastic sheeting and wet daily. Skipping the cure step gives you a weaker slab and more cracking.
Hire it out or DIY?
A 30x40 slab pour by a small concrete crew typically runs $14,000–$20,000 turnkey. Owner-builders with experience can do it for $4,000–$8,000 in materials, but the finishing skill required to get a flat, durable surface is real — botching the trowel finish is permanent. If this is your first slab pour, hire it out. If you've done a couple of smaller pours, a 30x40 is doable with a 4–5 person crew.